If you’re considering upgrading to a slate roof, you’re investing in one of the most durable, beautiful, and long-lasting roofing materials available. At Rhode Island Slate Roofing, we understand that any roofing project is a significant undertaking, and we’re here to make the process as smooth and stress-free as possible. Here’s what you can expect during a slate roof installation.
1. Initial Consultation and Inspection
First, your slate roof installation begins with a consultation. We’ll visit your home or business to assess the structure, measure your roof, and discuss your needs and preferences. We’ll also inspect the existing roofing system to determine if any structural upgrades are required to support the weight of slate, which is heavier than asphalt shingles or metal. Next, you will choose the type, size, and color of slate you prefer. Our team of professionals can help you select the right material for your building and budget.
2. Detailed Estimate and Project Planning
After the inspection, we’ll provide a detailed estimate that includes labor, materials, and timelines. Slate roofing is a premium product, so it’s important to understand both the cost and long-term value. We’ll also outline the full scope of the project so you’ll know what to expect in each phase. Once approved, we schedule your project and order your slate tiles and underlayment materials. Because slate is a natural product often cut to order, there may be a short lead time for materials to arrive.
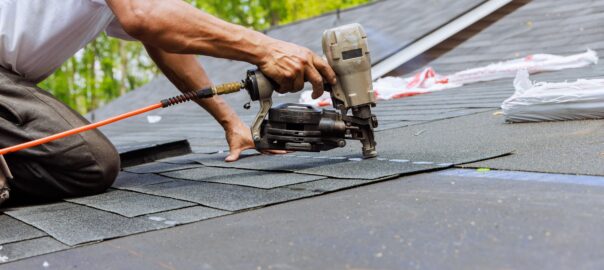
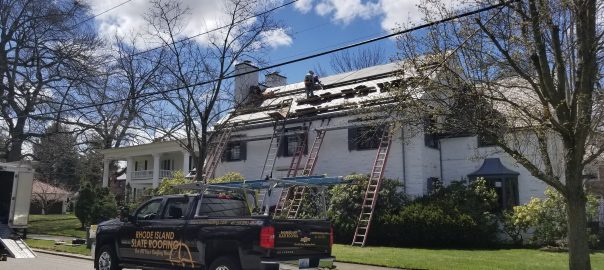
3. Removing the Old Roof
On installation day, our crew begins by safely removing the existing roofing material down to the decking. We protect your landscaping, siding, and property during this phase. Any damaged or rotten decking is replaced to ensure a solid foundation for the new slate roof.
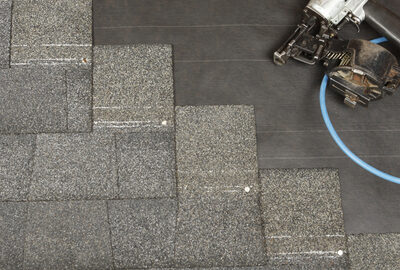
4. Installing the Underlayment and Flashing
Slate roofs require a specialized underlayment, typically a high-quality synthetic or felt product that provides waterproofing. We also install custom flashing around chimneys, valleys, and roof penetrations to ensure your roof is watertight. Proper flashing is critical in slate roofing and one of the main factors in its long-term durability.
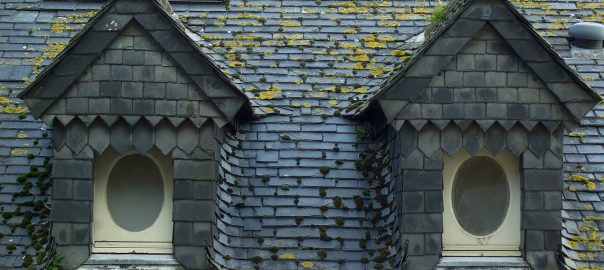
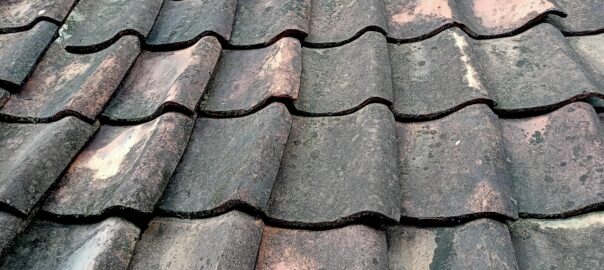
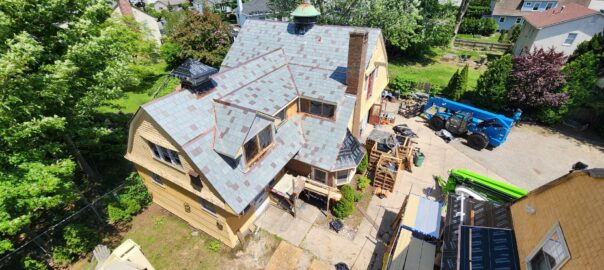
5. Laying the Slate Tiles
Our experienced team hand-installs each slate tile, ensuring proper alignment and overlap. Slate is fastened with copper or stainless steel nails to prevent rust and staining. Because slate tiles are laid individually, this process takes longer than installing other roofing types, but the results are worth it for a roof that can last 100 years or more.
6. Final Inspection and Cleanup
Once installation is complete, we perform a final inspection to ensure every detail meets our high standards and yours. We clean the job site thoroughly, removing debris and ensuring your home looks even better than when we started. If you are looking to install slate roofing on your New England home, contact Rhode Island Slate Roofing at (401) 255-2003, and we will be happy to work with you to get the best roof for your home.